How to Make Wood Texture in 3ds Max?
Creating realistic wood textures in 3DS Max is a skill that can add significant depth and authenticity to your 3D models. Whether you are working on interior design, architectural visualizations, or product design, mastering wood textures is crucial for creating lifelike renderings. In this article, we will explore the process of generating high-quality wood textures in 3ds Max, from initial setup to final rendering. By the end of this guide, you'll be equipped with the techniques needed to create stunning wood textures that can enhance any 3D project.

Setting Up Your Scene and Materials
Before diving into the creation of the wood texture, it's important to set up your 3D scene properly. Begin by opening 3ds Max and creating the object that will be applying the wood texture, such as a wall panel, floor, or furniture piece. Once your object is in place, it’s time to work on the material that will define its surface.
Start by selecting the object and applying a basic standard material. In 3ds Max, the Material Editor allows you to control the look and feel of the material. For wood textures, you’ll primarily be adjusting the Diffuse channel to define the base color of the wood and adding complexity with other channels such as Bump, Specular, and Reflection.
To make a realistic wood texture, the most important element is the diffuse map. You can either use a pre-made texture or create your own. If you opt for creating your texture, make sure it has a high resolution, as this will ensure a crisp, detailed final result.

Creating the Wood Grain
Wood grain is the key feature that gives wood its natural look. In 3ds Max, you can simulate the wood grain effect by using either a procedural texture or a bitmap texture.
1. Using Procedural Textures
Procedural textures are generated by algorithms rather than being based on a photo or bitmap. To create a wood grain effect procedurally in 3ds Max, you can use a combination of noise and wavy maps. The Noise Map can be adjusted to create irregular, random grain patterns, while the Wavy Map can simulate the flow and direction of the wood fibers.
Start by applying a noise map to the diffuse channel. Adjust the scale and strength to control the randomness and depth of the grain. Next, use a Wavy Map to simulate the orientation of the wood fibers. This map can be tweaked to create the illusion of long, flowing grain lines. By combining these two maps, you can generate a simple yet convincing wood grain pattern that will form the basis of your texture.
2. Using Bitmap Textures
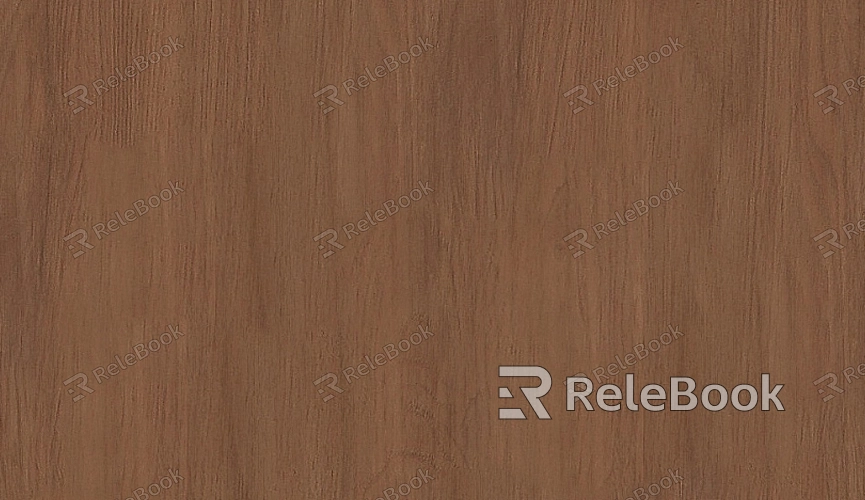
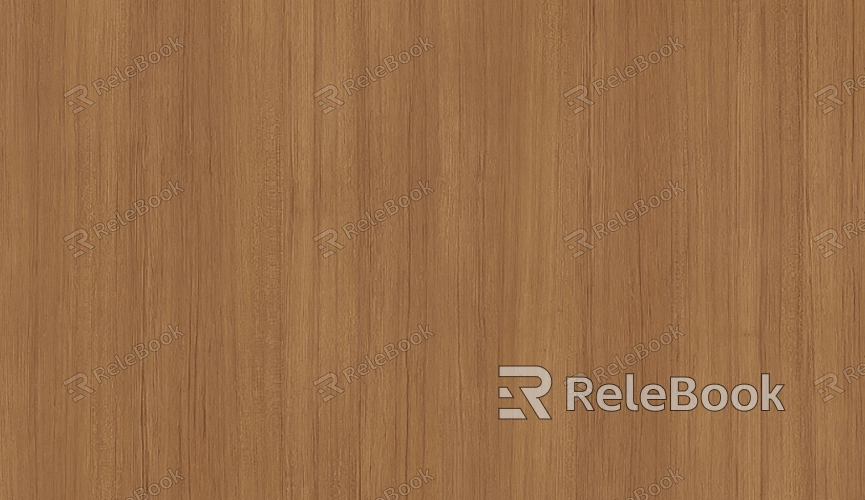
For a more realistic wood texture, bitmap textures often yield better results. You can find high-quality wood textures online, or you can take your own photos. When using bitmap textures, it's important to ensure that they are seamless so that they tile correctly when applied to larger surfaces.
Once you have your bitmap texture, apply it to the diffuse channel. Adjust the UV mapping of your object to make sure the texture lines up with the geometry. If necessary, you can modify the texture’s tiling to control how the grain appears on your surface. You may also want to adjust the texture’s bump map and displacement map for added realism.
Adding Bump and Normal Maps
Wood surfaces are rarely perfectly smooth, and adding bumps and normal maps is essential for creating a more realistic texture. These maps simulate small variations in the surface of the wood, such as imperfections, knots, and grains.
To add a bump map, you can either use a grayscale version of your wood texture or create a custom bump map. The bump map should highlight the raised and recessed areas of the texture, with white representing high points and black representing low points. Apply this bump map to the Bump channel in the Material Editor.
For even more realism, you can use a normal map. A normal map works similarly to a bump map, but it provides more detailed surface information by simulating the direction of light and shadow on small-scale surface features. In 3ds Max, normal maps can be applied in the normal map slot of the material, and they will provide a more refined and subtle effect compared to bump maps.
Adding Specular and Reflection
Wood surfaces often have a slight sheen, especially when freshly sanded or polished. To create this effect in 3ds Max, adjust the specular and reflection properties of your material.
In the Specular channel, you can control the amount of light that reflects off the surface. A higher specular value will create a shinier wood surface, while a lower value will result in a matte finish. For natural wood, a subtle sheen is usually best, so adjust the specular value to achieve the desired look.
The Reflection channel can also add to the realism by simulating how the wood surface interacts with its environment. Be cautious with reflection, as too much can make the wood look more like plastic. You may want to create a reflection map using an environment or skybox to create realistic reflections without making the surface overly shiny.
Applying the Texture to Your Model
Once you’ve set up the wood texture, it’s time to apply it to your model. Before you do so, it’s essential to ensure that your model is properly unwrapped and that the UV coordinates are laid out correctly. Without proper UV mapping, the texture may appear stretched or distorted.
In 3ds Max, you can use the UVW Mapping modifier to adjust the way the texture is applied to the model. This tool allows you to control the scale, orientation, and placement of your texture. For wood textures, it’s often a good idea to align the grain direction with the geometry of the object to enhance realism.
After applying the texture, perform test renders to see how the material looks under different lighting conditions. It’s also a good idea to tweak the material settings and texture maps until you are satisfied with the result.
Final Adjustments and Rendering
Once your wood texture is applied and the object is ready, it’s time to make final adjustments and render the scene. Lighting plays a crucial role in how textures appear, so experiment with different lighting setups to see how your wood texture interacts with the light.
Use area lights or HDRI lighting for more realistic results. Ensure that the wood texture is lit in a way that enhances its natural look, highlighting the grain and imperfections that make it appear authentic.
Finally, render the scene and review the results. Depending on the quality of your textures and lighting setup, you may need to make further refinements. Don’t hesitate to tweak the material properties or experiment with additional details like scratches or imperfections to enhance realism.
Creating realistic wood textures in 3ds Max requires a combination of material settings, texture maps, and lighting techniques. By following the steps outlined in this guide, you can create wood surfaces that add depth and realism to your 3D models. Whether you're designing furniture, flooring, or architectural elements, mastering wood textures is an essential skill in the world of 3D visualization. For high-quality wood models and textures, be sure to visit the Relebook website, where you can download premium assets to elevate your 3D projects even further.
FAQ
Can I use pre-made wood textures in 3ds Max?
Yes, you can use pre-made wood textures in 3ds Max. There are many online resources that provide high-quality textures. Make sure the textures are seamless and appropriately scaled to fit your object.
How do I make the wood grain look more realistic?
To enhance the realism of your wood grain, focus on fine details such as knots, small imperfections, and slight color variations. You can also use bump or normal maps to add depth to the grain and make the texture feel more three-dimensional.
What is the difference between bump maps and normal maps?
Bump maps simulate the height variations of a surface using grayscale images, while normal maps store detailed surface information about the direction of light, offering a more accurate and realistic simulation of surface details.
How do I create a seamless wood texture?
To create a seamless wood texture, you can either take a high-quality photograph of wood and use image editing software like Photoshop to make it tileable, or you can use a procedural texture map that is designed to seamlessly repeat.
Should I use procedural textures or bitmap textures for wood in 3ds Max?
Both types of textures can be used, but bitmap textures generally offer more realism, especially for wood, as they capture the nuances of natural materials. Procedural textures are better for simpler and more stylized designs.

